Showing posts with label Costume. Show all posts

Saturday, November 1, 2014

Halloween 2014

So like I said before my little man wanted to be a modern day robin hood. I know I already have shown you how to make his rocking boot covers. For the main part of his costume I have made another Zander's hoodie.

I love the Zander pattern from Everything Your Mama Made. I have made him one before that I loved in the vest version and I knew it could be awesome as a modern day robin hood.


I used a pre-quilted suede for the lining of the jacket and the sleeves and a green houndstooth suiting material for the outer fabric. They both came from JoAnn Fabrics and were pretty reasonably priced.

I decided that if I was making him a costume again it would have to be wearable after Halloween and the Zander definitely fit the bill and all the pattern pieces were already cut out from the last one so it was a breeze to sew up this version.


For the required Robin Hood accessories--I bought a toy bow and arrow set from the Toys R Us and spray painted it brown. Also used some leftover scraps from the boot covers to wrap around the handle of the bow. To make the quiver more realistic I sewed up a straight pocket to slip over the plastic one (see the original red peeking out?) attaching the strap to the top and bottom of the side seam.

Also not shown a small pouch made with the quilted suede and a leather lace draw string for keeping Robin Hood's money in. However, son like mother he spends it(meaning-lost it) faster than a blink of an eye. HaHaHaa!


Saturday, October 11, 2014

Who's ready for Halloween??

I know I am not done yet!

This year my son has decided that he would like to be Robin Hood. I think really he just wanted to carry bow and arrows of course.

 I decided to go with Russel Crow's more modern and rugged Robin Hood
 rather than the cartoon fox version of Robin Hood. 


It would have been easier to make the cartoon version with some green felt. 
However, my little guy would not have something functional to wear later.

I have the Robin Hood jacket done and the boot covers. 
I'll be sharing the new an improved faux leather boot cover tutorial tomorrow. 
until then you can check out my previous felt vesion version HERE. 

Sunday, December 1, 2013

Happy Halloween...and Thanksgiving...

Well let's start at the begining I suppose.


The little guy was a viking for Halloween. For him I sewed up some faux fur boot covers and fur vest. It was raining and yucky out so we did not stay out long although he was pretty warm. He even had on a fake red beard and hair under his horned helmet.
Sorry this is the only decent picture I got that night; you can't really see the boot covers or the vest over his coat.  


Then I got started on sewing for Christmas...


5 Imke's for the neices/nephew and son.


This is after cutting but before sewing them up, of course, I have already wrapped all of these up. It is the same Imke pattern that I have used in the past but this time with long sleeves and made of fleece.
 
Then I had to pack up the entire sewing dining room for Thanksgiving. We had just over 25 people at our house and everything was fabulous. I tried out a few new recipes and they were really good.
I did my own homemade cranberry sauce which is SO much better than canned. It is also so easy so I don't know why I never tried it before. I also made corn casserole--also YUMM-O!


Okay so then black friday happened which was a little like this:


No not really...BUT I did go to two different Kohl's and JoAnn Fabrics as well as a few other stores. Yeah, I am that crazy.


Then back to the sewing.

I made a stinkin' adorable kimono pj set for my nephew, Baby Eric as my son calls him.


It is from the Amy Butler book.
It is actually the outfit on the cover. I made it with some of my JoAnn's $1.99 flannel from Black Friday.


Then I made my neice a coloring book dress for her birthday. It is a reversible dress with a very light purple on the inside because it is her favorite color.


Last and not least I made some hanging dish towels.
 I used kleiosbelly pattern. That link takes you right to the PDF.
 I used another Black Friday score to whip these up. The towels themselves are The Big One hand towels from Kohls that I cut it half.
Total cost for each set $1.99 because of stashed fabric usage!


I think that I only need to sew up some new PJ's for the little man
 and this mama is done Christmas sewing.
 
What are y'all making up for Christmas??

Monday, October 28, 2013

KCW Days 4-7

Sewing for an hour a day really is not TOO much of a stretch. As long as you don't mind letting the laundry and dishes pile up. Not to mention the threads and scraps on the floor and everywhere else, including the shower?
 
The hard part is trying to blog about it at the same time! So I'm just going to share everything that I got done in the second half of the week in one post.


Project #4


Sleepy time robe

From Melly Sews (Free pattern by the way!)


Marvel character flannel from JoAnn's. It has Iron Man, Hulk, Thor and Wolverine.
 
 Yummy donuts:)


Project #5


Sleeping Bag

Pattern from Crazy Little Projects (Free Tutorial)


Both the inner and outer fabrics are also JoAnn's. I was lucky enough to find two coordinating fabrics in the red tag section when they were an additional 50% off! This pattern takes 3 yards of each fabric plus batting.


Project # 6


Fox Mask

Also a free printable pattern from IlliStyle.com


I'm sure your all familiar with the "What Did The Fox Say" video by now:


Well he is obsessed with it and I knew I had to hunt down a mask template for him!


Project # 7

 
Well he is modeling this with his fox mask but it is a basic vest made with faux fur.


I made the vest using the same sleepy time robe pattern sans sleeves and removing some of the length. The vest is actually part of his Halloween costume; he is going to be a viking with a great horned helmet.


Thursday, March 28, 2013

Another finish

Chiffon....

I'm so sorry but we can not be friends anymore.


I was recently asked to make a couple of costumes. I've already shared one and I thought I would share the other. The second costume is actually a underskirt to a costume dress she already owns.


They requested a chiffon or similar skirt to wear under this that would not look like a second piece. After some thought I decided to use a jersey knit and elastic waist to attach the chiffon to. I figured that way it will be stretchy at the hip/waist for movement. 


Then after some tricky pinning and trimming I hemmed the two layer of chiffon as one. This was to be used as a dance costume as well so it also had to have a slit because I was told she starts the dance on the floor.
I chose to make the slit on the same side as the one shoulder, seemed more balanced to me.


The reason chiffon and I can not be friends..she is a shady one. After all my careful laying out and trimming and hemming. Looked perfect day one. After hanging a day the chiffon relaxed and because I hemmed the two layers as one, one layer was longer than the other creating a bubble skirt look. Not cool Chiffon, not cool. Had to CAREFULLY unpick the offending hem and re-do it in one section.


This is the final result on the little star:


Thursday, March 21, 2013

Costumes

I was recently asked to make a couple of costumes for a little girl who is all about theater and singing. She is doing this song called " I Speak Six Languages" and wanted a school girl type costume. If you google school girl costume all you find is the stripper-esque adult version. EWW! So NOT appropriate for a 8 year old.  Anyhow I came up with this:

I did not have a pattern so I just made my own. The little girl requested turquoise plaid and being that it is for stage, it had to have the turquoise sparkle tie.


Updated to add:

This is what the final result is when she is wearing with with the bling on it!


A Lovely Year of Finishes

Monday, October 29, 2012

My Halloween Costume; A Review of Simplicity 1773


Simplicity 1773


Pattern Description:

Misses' medieval dress in two lengths has square neckline and flared skirt. Under dress A, C has back zipper, long sleeve and ruched or trimmed neckline. Overdress B, D has front lacing and short puffed sleeves. The short version of the over dress has a slit on each side of the skirt portion.

Pattern Sizing:

Sized from 6-22

Did it look like the photo/drawing on the pattern envelope once you were done sewing with it?

I think so!

Were the instructions easy to follow?

Very easy.

What did you particularly like or dislike about the pattern?

I did have to tack the overdress to the under dress to my bra. It just wouldn't stay up. I should have muslin-ed it first and decreased the measurement in the square neckline and it would have been fine. However, one of the options is to wear it off the shoulder and it did look cute that way!

Fabric Used:

The under dress is a crepe-backed satin (the same pretty blue that was from Little Man's costume. ) The overdress is a faux suede and lined with kona cotton.

Pattern alterations or any design changes you made:

None. I did opt to do a regular hem on this dress, I may have done the jagged look if I used taffeta but satin frays like a motha.

Would you sew it again? Would you recommend it to others?

I probably will not need another one of these. However I have already thought of other ways to wear this costume in the future to recycle it. Like I'll make a drawstring neckline shift type dress to wear under it and a white sleep cap to wear with the over dress. OR wear a LONG wig and be Rapunzel. OR throw on some wings, mask and glitter and be some kind of woodland fairy.

Conclusion:

Very cute costume. It was a little daunting when cutting out all the pattern peices. The overdress has some peices that get cut out 12 times between the lining, interfacing and fabric but it came together relatively quickly even though I hate to iron and only can sew a little bit at a time. 


In other news Oh My Goodness the rain is REALLY coming down here in Pennsylvania. Thank you Sandy lol

Is anyone else in my situation? What did you buy/get to prepare? 
I got pop-tarts, PB crackers, water and canned ravioli. . .Sad, I know. Luckily I already have some stuff at home. Until you actually TRY to find things that do not need refrigerated/cooked you do not know how hard it is to find. I'm sure ravioli will be gross room temp but it's better than being hungry haha

(In my defense the stores were already sold out of camp cook stove's and the liquor store was closed) 


Dawn’s Disaster

The Final Reveal


Little guy is being a musketeer for Halloween but he normally will tell you he is being Puss is Boots. (Except of course today, when he decides he is being a fire fighter.)
I have posted all my parts of his costume but here are the pictures again.
The pattern I used is McCall's 5214 and I cut a size 3 for him.


Okay, Okay, Okay! Enough stalling HERE it is ALL together!


Photobucket

Sunday, October 28, 2012

15 Minute Boot Covers

Today I am going to share with you my son's boot covers for his halloween costume.
No Lie, they took 15 minutes!

I was literally laughing out loud when taking theses pictures. This is the first time I had let him touch his sword and he was TOTALLY in to it.

Any how on to the tutorial!

I measured my little guys leg from his ankle to his knee and it was 9". I took that measurement and then did the ankle part 9" across and the top (knee) 12" across. I used the left over felt from his musketeer hat.


                                                                         Your felt peices should look *something* like this. I have a tall 2 yr old that is pretty thin and these measurements fit him. His upper calf is 9" if that helps you upsize/downsize your pattern.


Next you just stitch up the back right sides together (or the sides you drew on to the outside). I used 1/4" hem allowance because I wanted to be sure that his clothed leg would fit inside.

Next to make the floppy top to the boot...err boot cuff I mean.

I made a trapezoid that is 12" on one side and just 14" on the top. It is 3" tall. It should look like this:


Lucky for me I had *just* enough of the trim left from his tabard to use on these.


To attach the trim I use the zigzag setting (Stitch #4 on Brother CE-4000) on my sewing machine set like this :


I think that the trim just adds a little something. It's all in the small details:)

Now, to attach the cuff to the boot shaft. You need to turn the boot shaft right side out and put the cuff inside the boot with the right (trimmed) side of the cuff facing the wrong side of the boot. That way when you flip it out you have no seams showing.


Flip that cuff out, finger press the seam (beacause with felt you can do that and it stays).

That is it!

Unless of course you feel the need to put some elastic from the bottom edge of the boot cover to run under the shoe. I didn't, he was running around in them and they were not riding up. Plus I feel like, what if he's walking and it gets caught on something in the *dark* Halloween night?


Maybe I should discuss proper handling of swords-even if it is fake!


Costume Contest

Thursday, October 18, 2012

Making a musketeer hat

So as you may know my little guy is being a musketeer / puss in boots.

What you might not know is that it is rediculously hard to find a CHILD'S size musketeer hat. Pirate hats galore but nothing "just right." Having taken all that time making his costume doublet and tabard there was NO WAY he could not have the "right" hat.

So I made one of course and I wanted to share with you how you can make your own as well.

Supplies
One childs pirate hat
One small length of trim or ribbon
One yard of black felt
One piece of a heavy weight interfacing, fusible or not is fine
Elmer's Craft Bond (if interfacing is not fusible)
One large feather

And the basics-pinking scissors, thread and needle, hot glue gun


First take a standard child's pirate hat and cut off the brim. I used my pinking scissors for this.


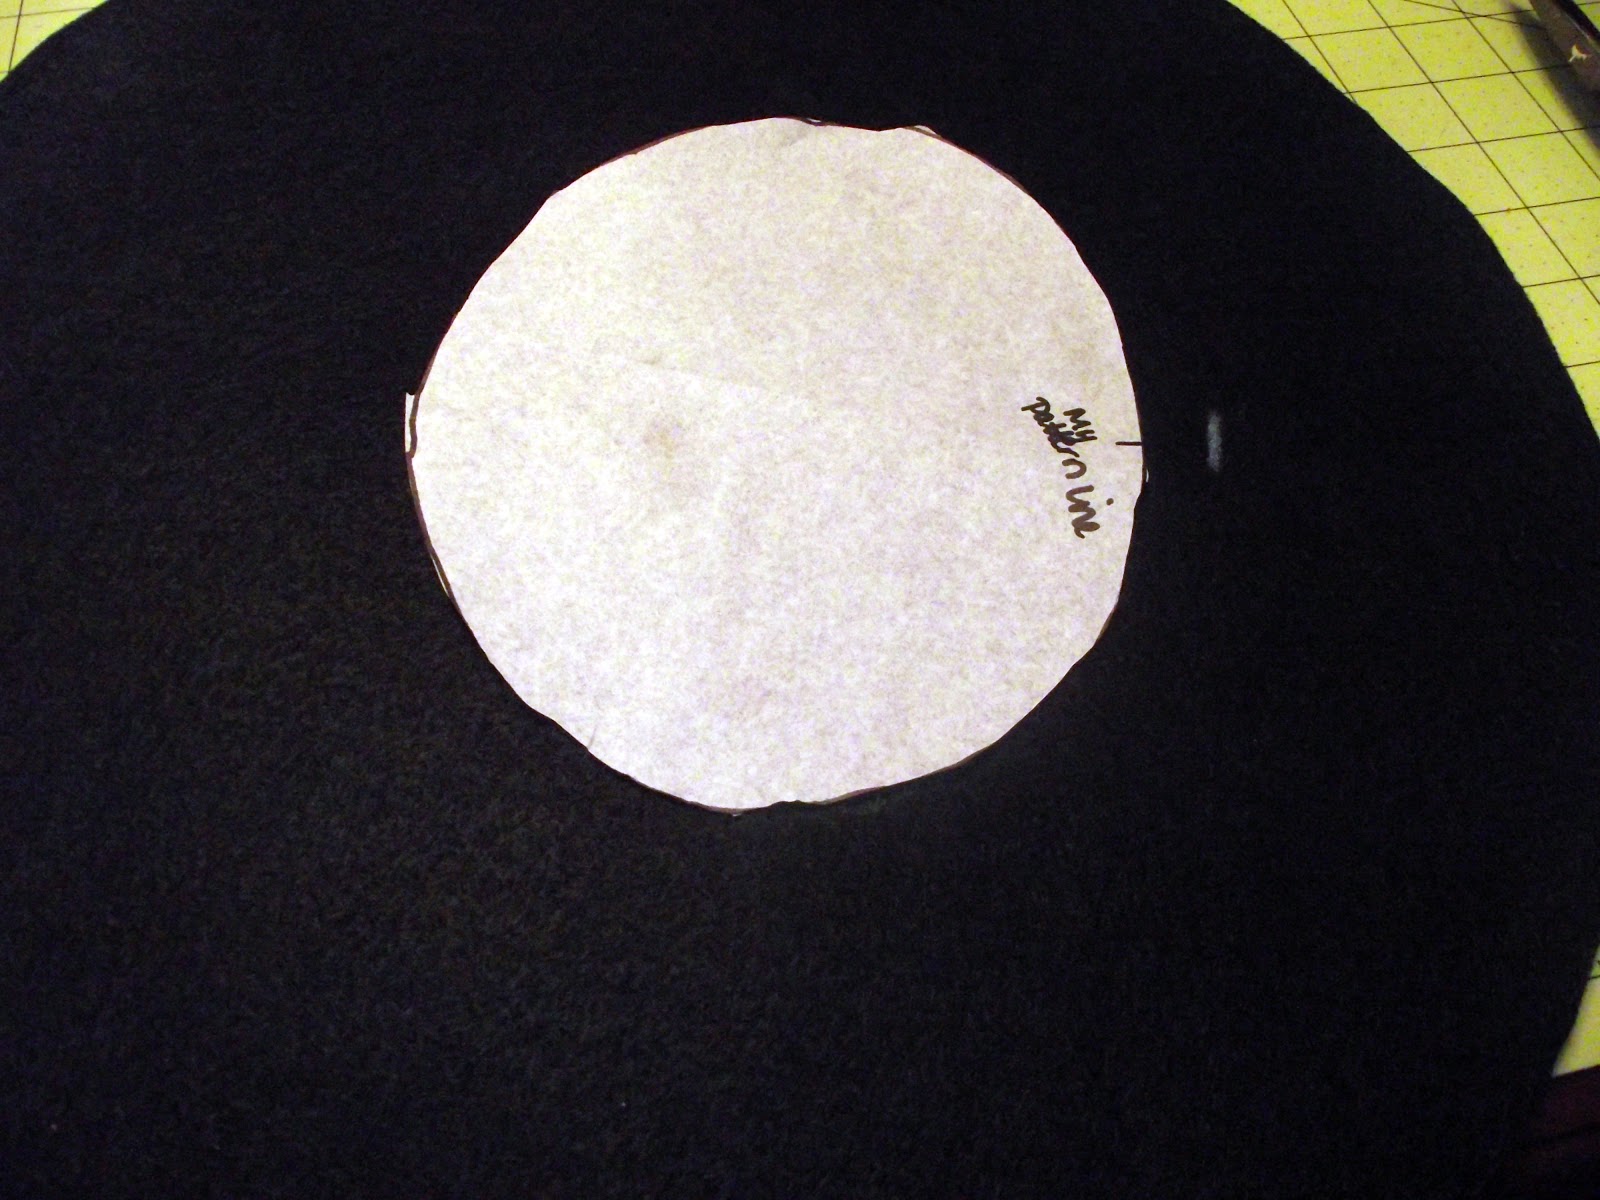
Trace your hat base and then make a new line a little bit inside that one; about 1/2" smaller.


Trace your felt and interfacing larger than your pattern base. Excuse my pizza pan but it's the only thing I had handy. You can cut your interfacing just a smidge smaller than the felt or if you have any interfacing showing you can just use a sharpie to clean it up after the next steps. LOL


Sandwich your felt and interfacing. Give it a GOOD healthy spray of craft bond between the three layers.
Let dry completely.


Figure out where you want the hat's fold to be, mark it and go just a little to the center of that, place the template there and cut it out.


Slide the brim over the base of the hat and glue in place. 

Did I ever tell you how much I love a hot glue gun?


Stitch on your trim.

Although, I suppose you could hot glue it too! Haahaa

Ribbon could be used too but I thought it made the hat look a little too girly....
and his costume already has lace so I did not want to push it.


Hot glue the feather to the trim and then glue the brim up.
Now you have an official musketeer hat.


Now all that is left is the boot/shoe covers then I will FINALLY be done with little man's costume :)